Managing Fellowships
Step 1
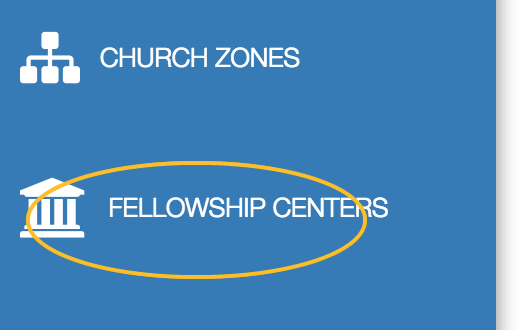
Click on “Fellowship Centers” from the menu on the left
Step 2
You Should See a button at the top that says “add Fellowship” click on this button

Step 3
Fill in the Fellowship Name and Address
Step 4
Add the zonal coordinators for the zone
You can
-
Select an existing user’s name from the drop down menu or
-
Add a new name by clicking “New Content”. You will be prompted with a user registration form. Fill in the desired information NOTE: you can enter a default password the user will be prompted to create a new one. Once you are done filling in the form hit create new account and you will be redirected back to the zone form.
You can also edit existing names by clicking “Edit Content”.
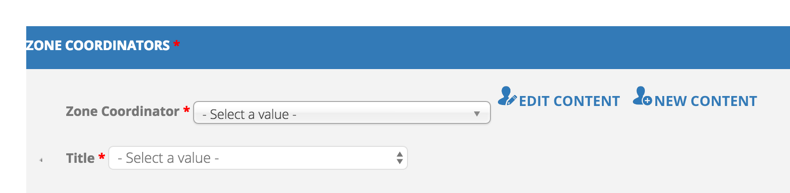
Select a title
-
The User’s title available options are
-
Zonal Minister
-
Assistant Zonal Minister
-
Zonal Secretary
-
You can modify this later from the admin dashboard.
Select the appropriate title for the new user
If you desire to add another coordinator hit the button that says “add another Item”
Step 5
If the fellowship in a break out group from another fellowship select the parent fellowship this new fellowship is breaking out from
Step 6
Select the Appropriate zone for the fellowship from the Fellowship Zone dropdown list.
Once done hit the Publish Fellowship.